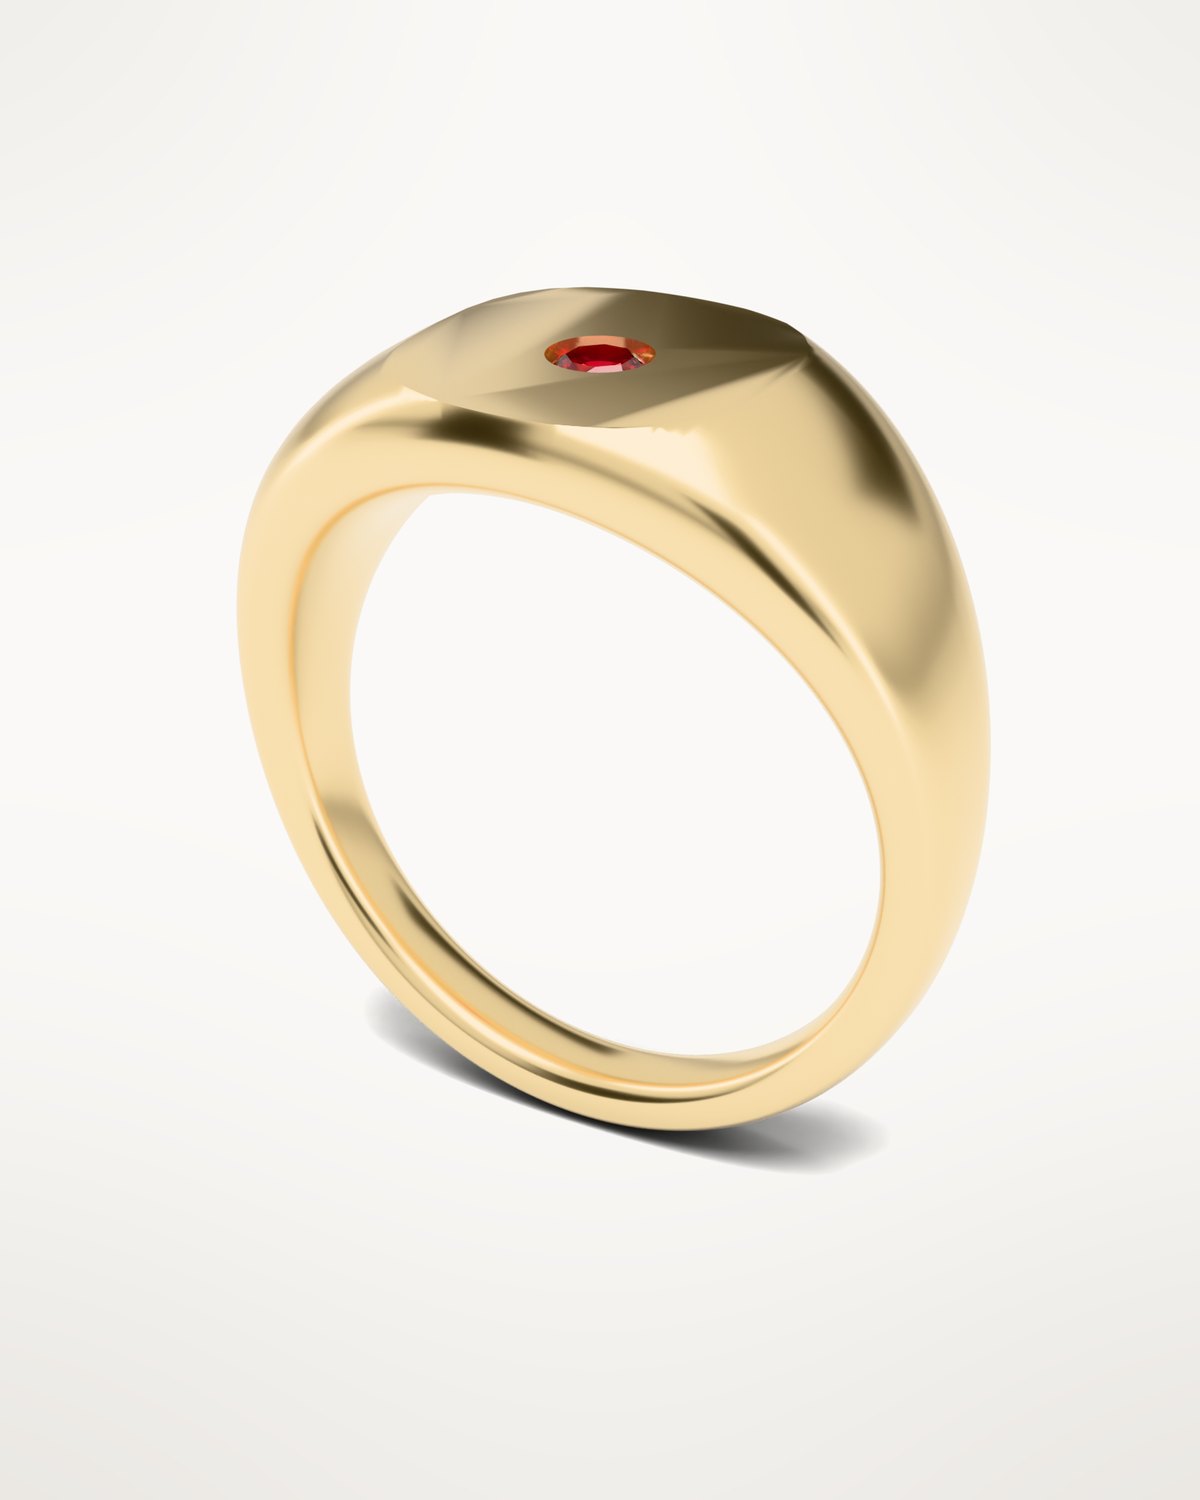
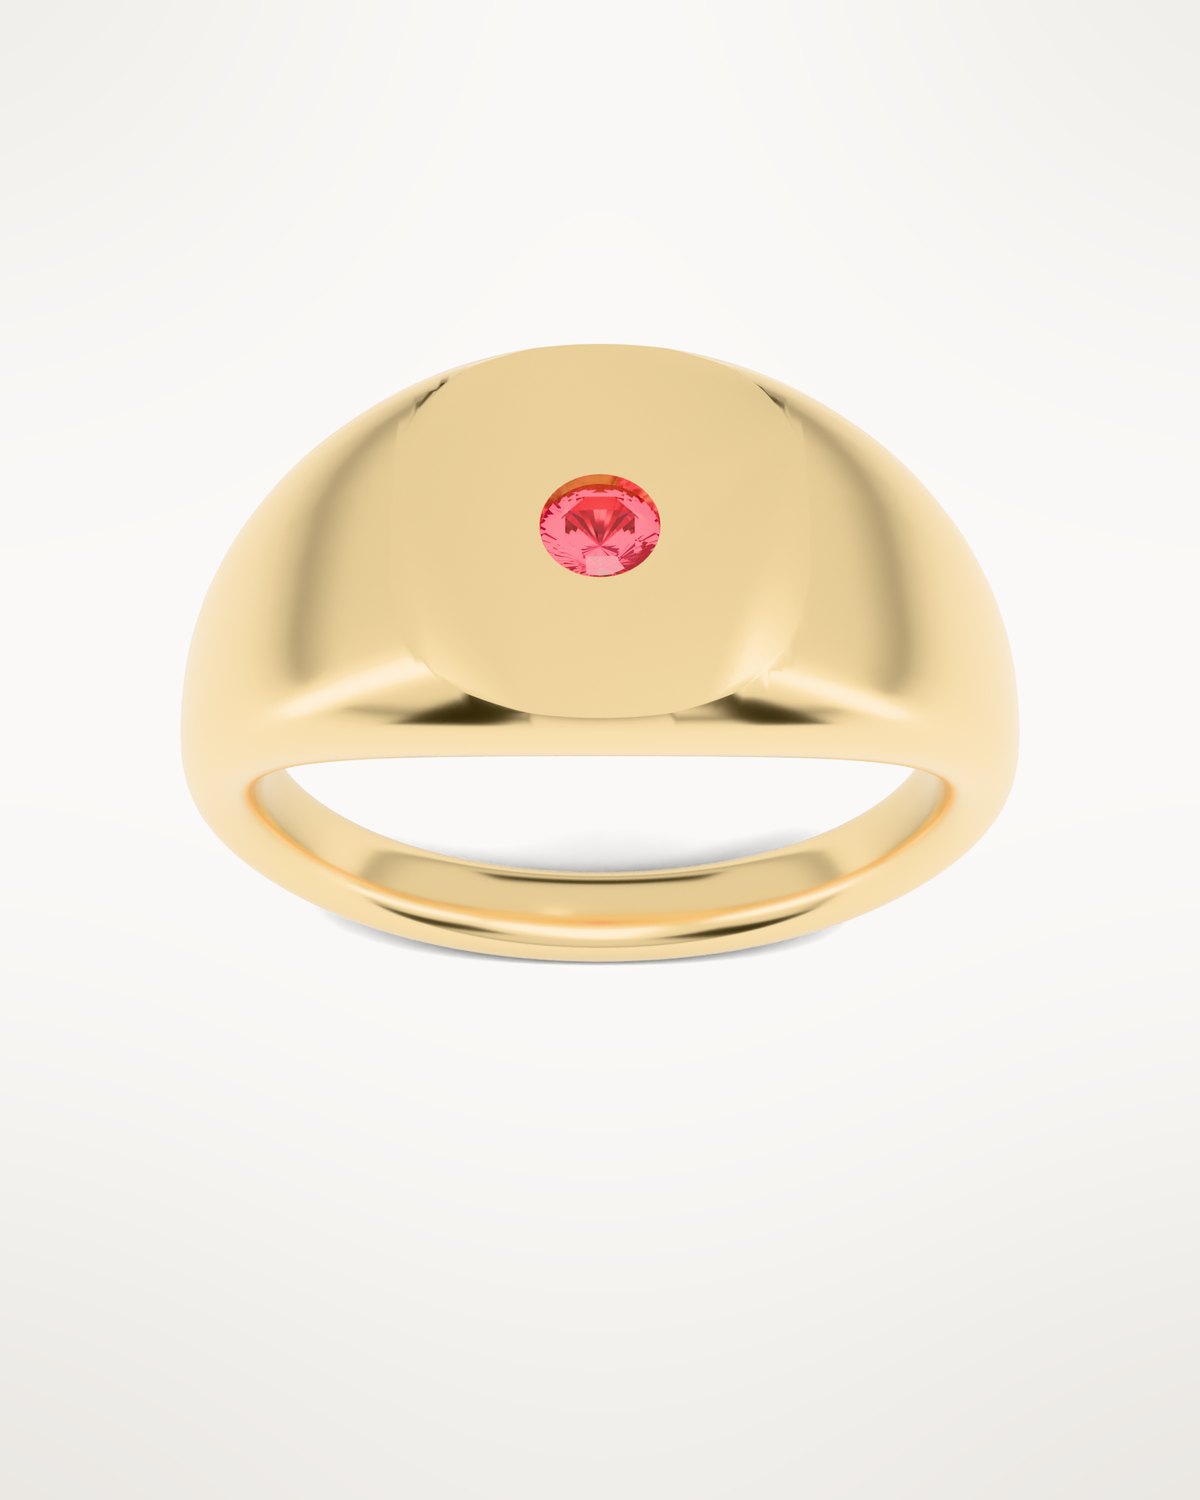
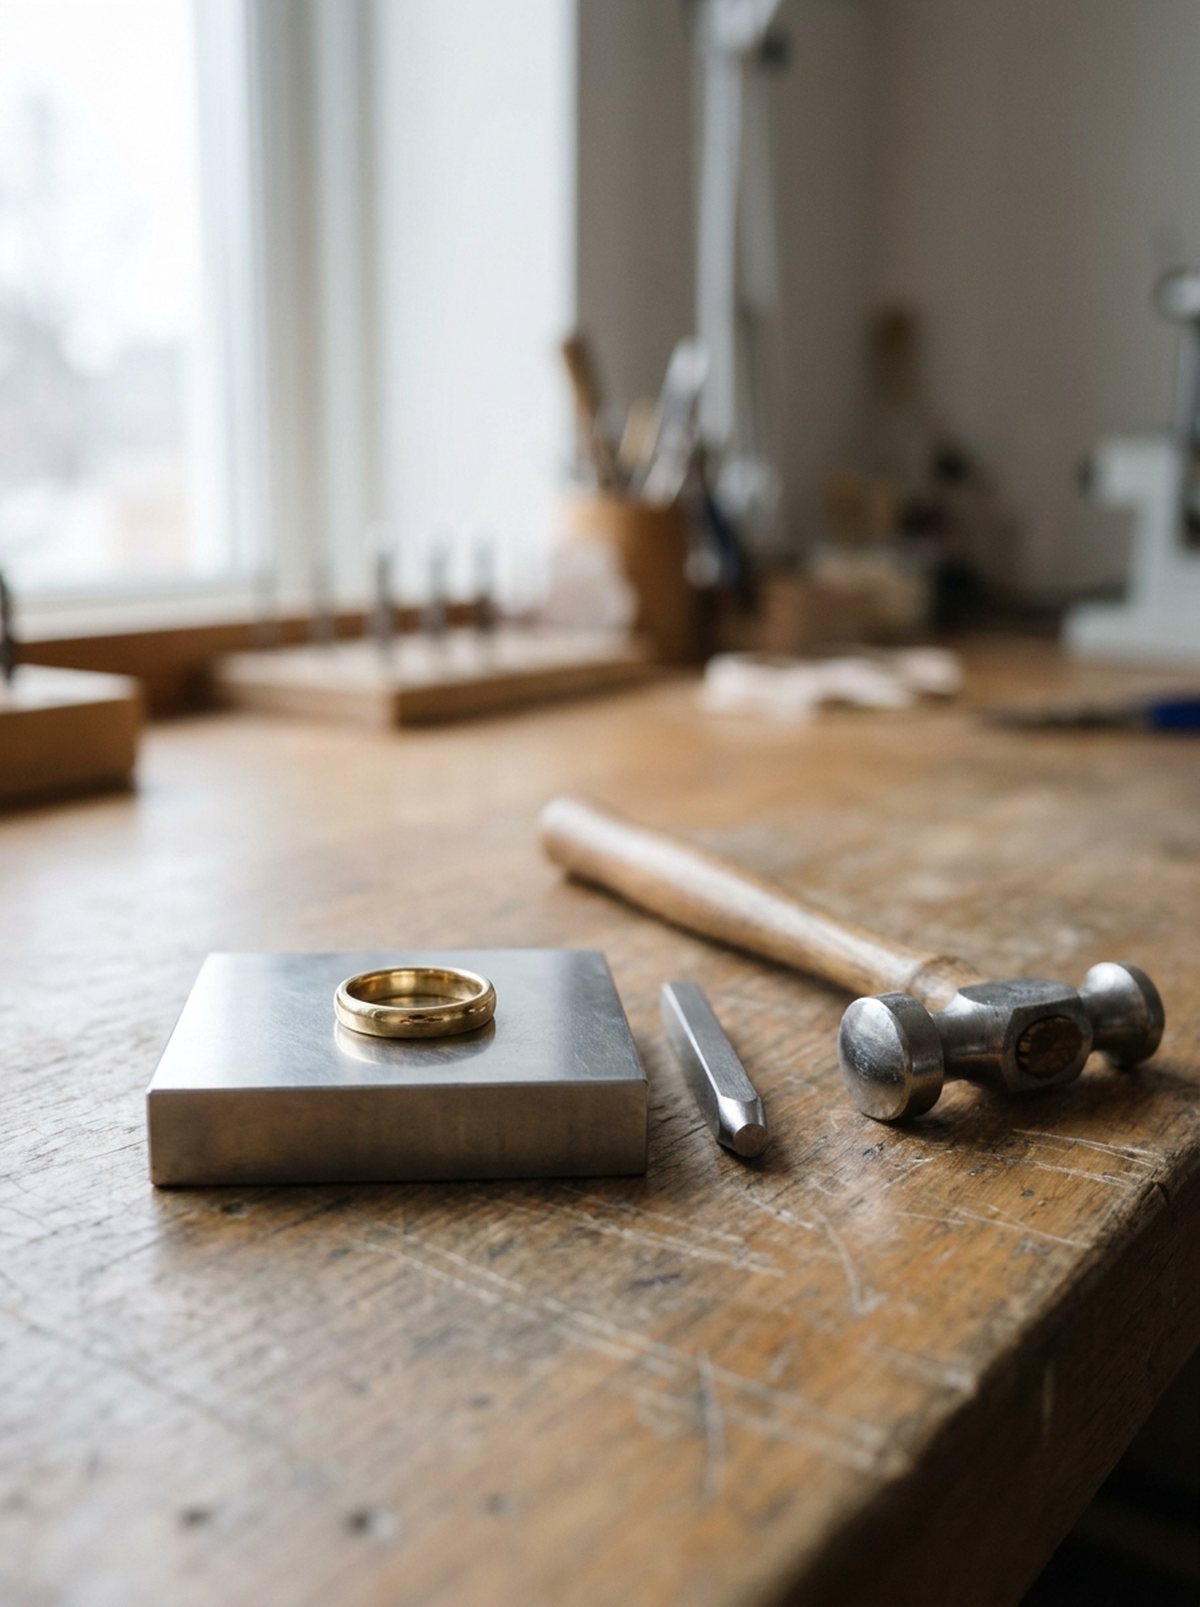
From drawing to model
How a setting is designed around one particular stone, in four steps, before any metal is cast.
Key points
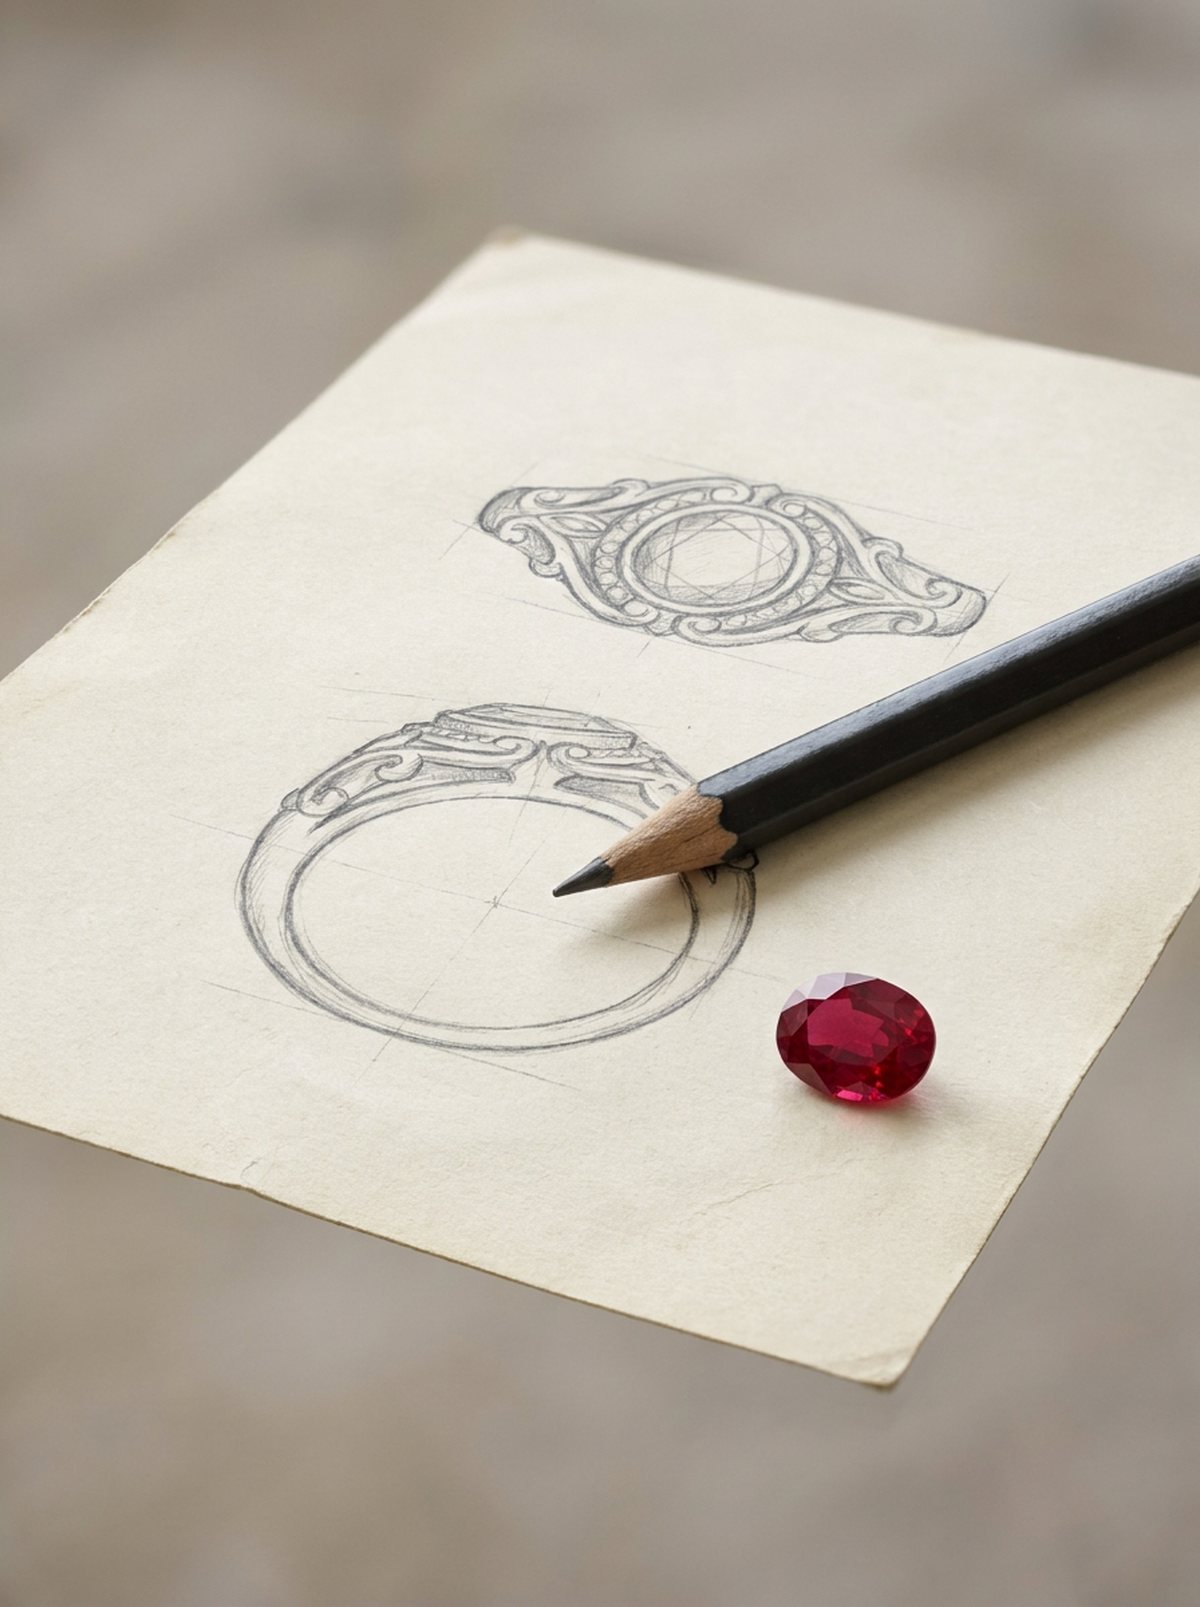
- The stone is measured first, since stones sold at the same size can differ a lot in depth.
- The CAD model checks each claw and estimates the gold, which sets most of the price.
- A printed resin proof is tried on before casting, when a change costs only a new print.
In this article
A setting made for a specific stone fits it exactly. The claws land where the stone is strongest, and the stone sits at the height the design calls for. The process starts with the stone itself.
Measure the stone
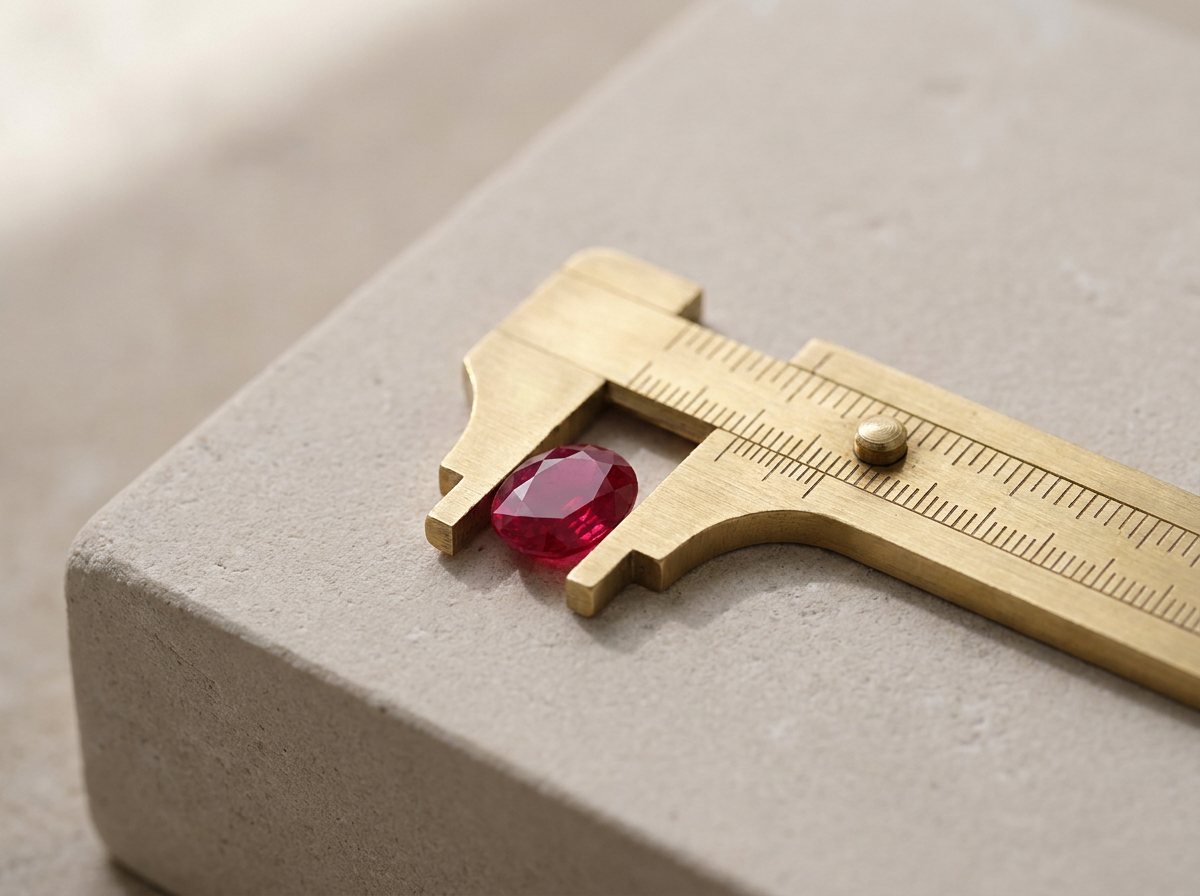
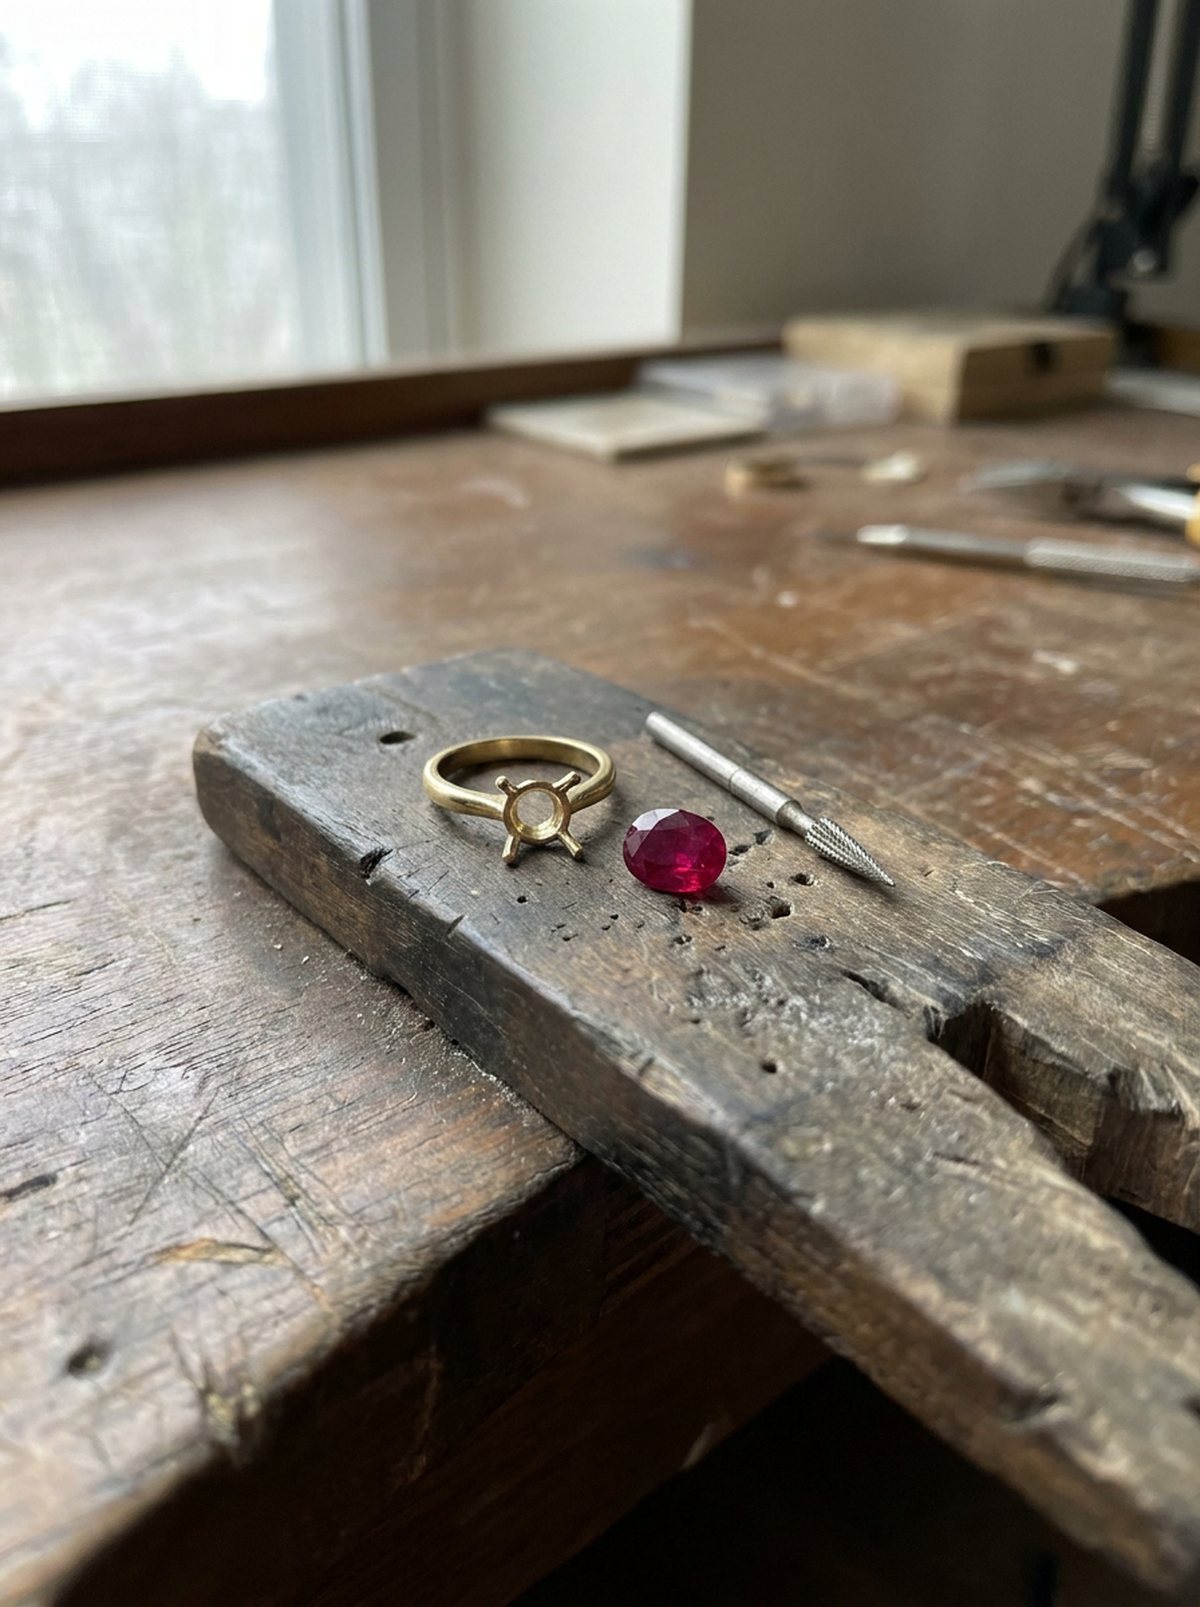
The stone is measured for length, width and depth, and its edge, the girdle, and the shape of its lower half are noted. Two stones both sold as 9 × 7 mm can differ by a few tenths of a millimeter and by a lot in depth, and the setting has to allow for both.
Sketch
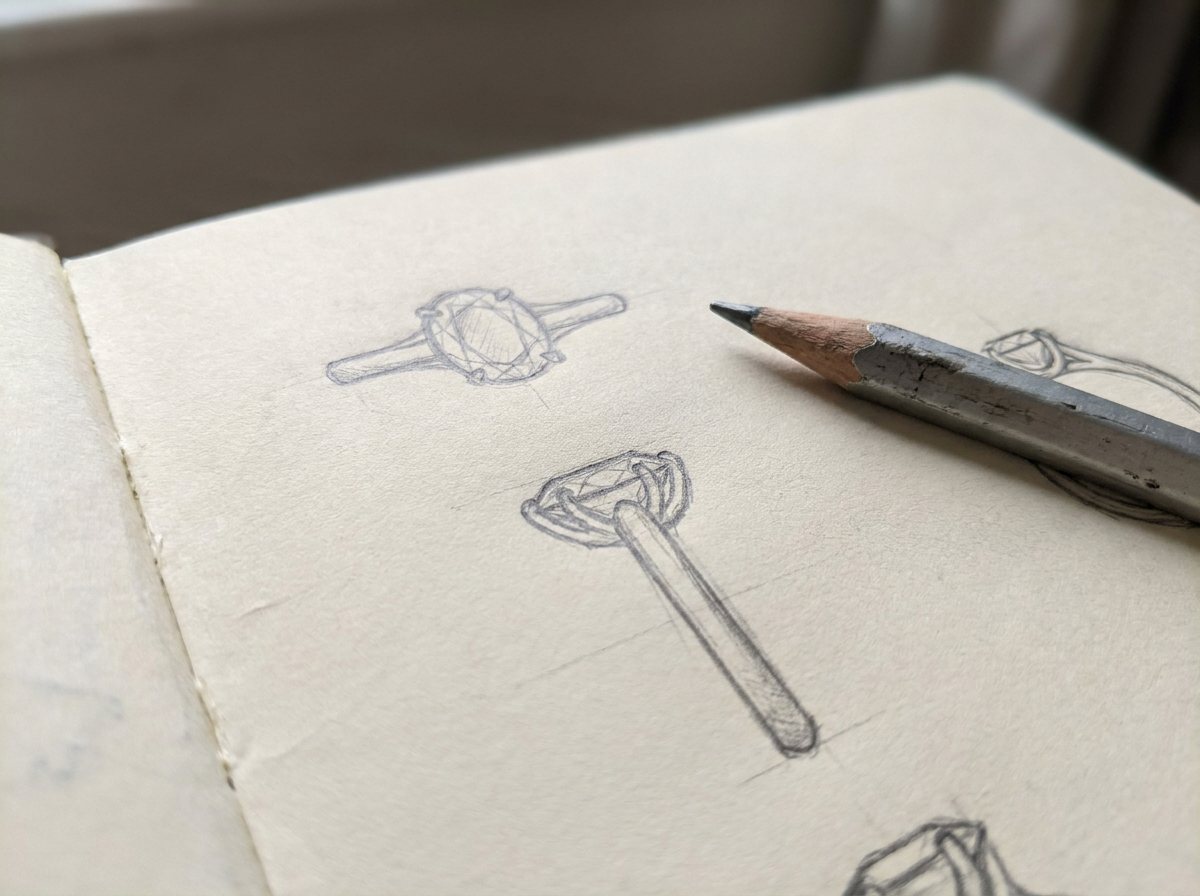
Sketches settle the proportions: how high the stone sits, how many claws hold it, how wide the band is and how the band meets the setting. The side view matters most. It decides whether the ring sits flat beside other rings and how much light reaches the stone from below.
Model
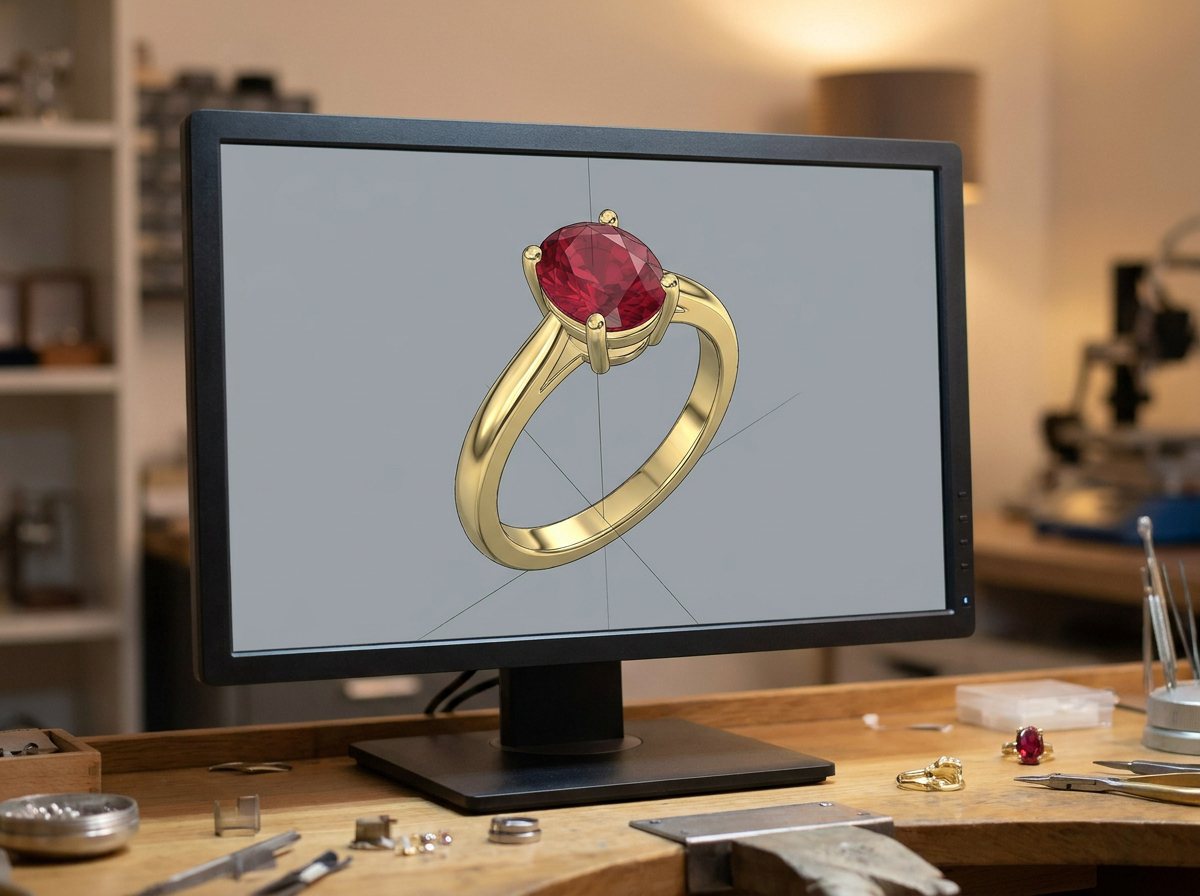
The design is built in jewelry CAD software around a model of the stone at its measured size. The software checks things that are hard to judge on paper: that each claw is thick enough to last, that the band is the right size, and that the bottom of the stone clears the finger. It also estimates how much gold the ring will use, which sets most of the price.
Proof
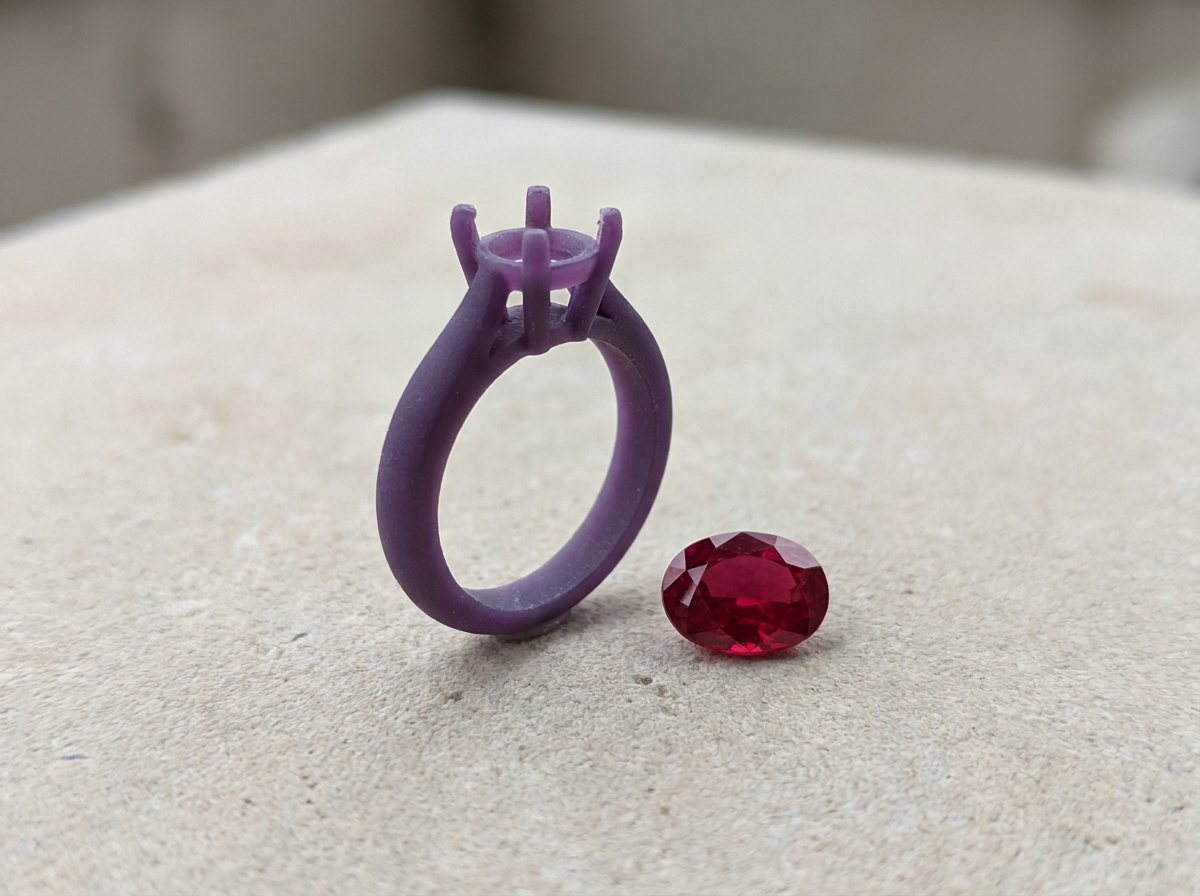
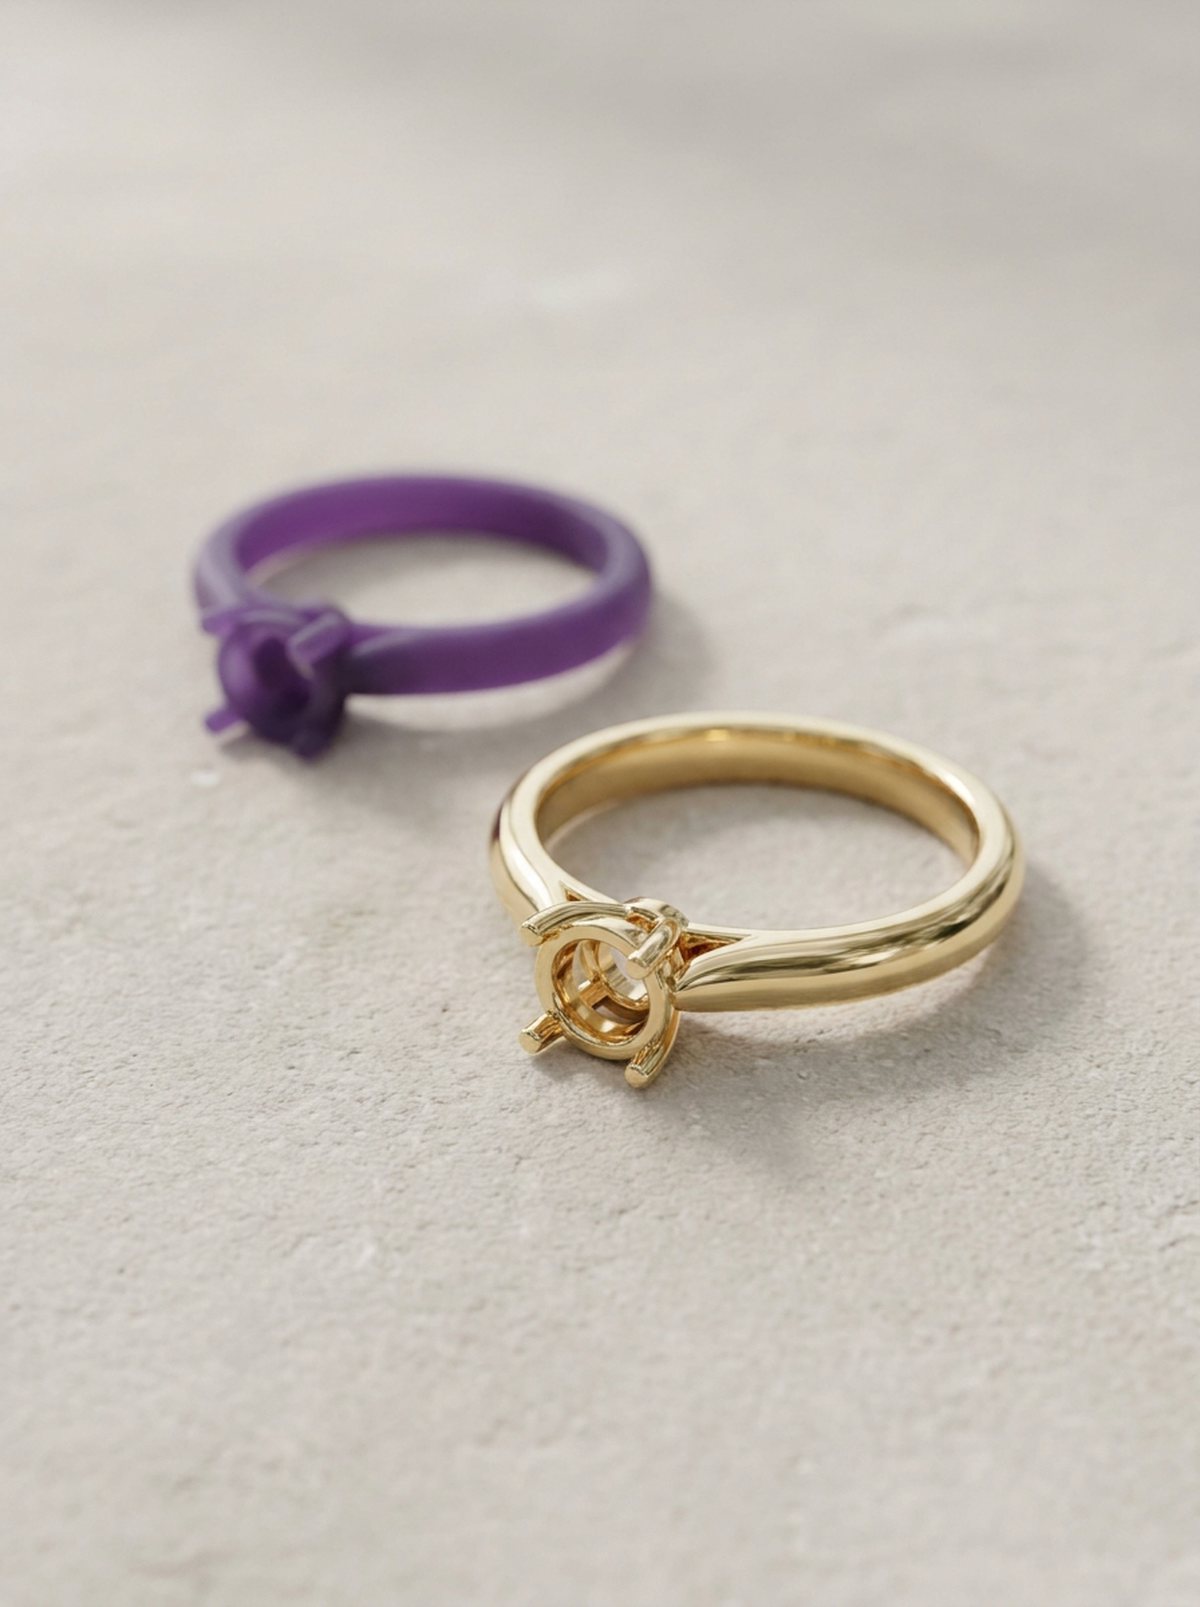
Before anything is cast, a resin copy of the ring is printed. It can be tried on, checked against the stone, and compared with other rings for height and width. A change at this stage costs only a new print. The approved model then goes on to casting.
Filed under Making · September 17, 2026